Sometimes when I go through reference imagery for a project online, I find something random that peaks my curiosity. I wonder, “how can I make that in 3d?” Could I use Unity or Unreal to get something that looks like that? Often times I experiment in Substance Designer to try to replicate a surface, but doing a scene or a shader technique is something different.
Here are a few of my experiments: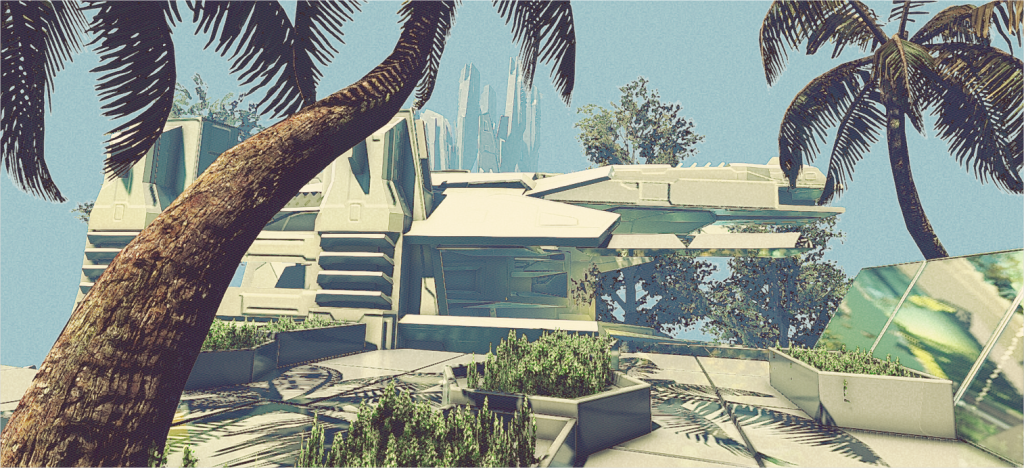
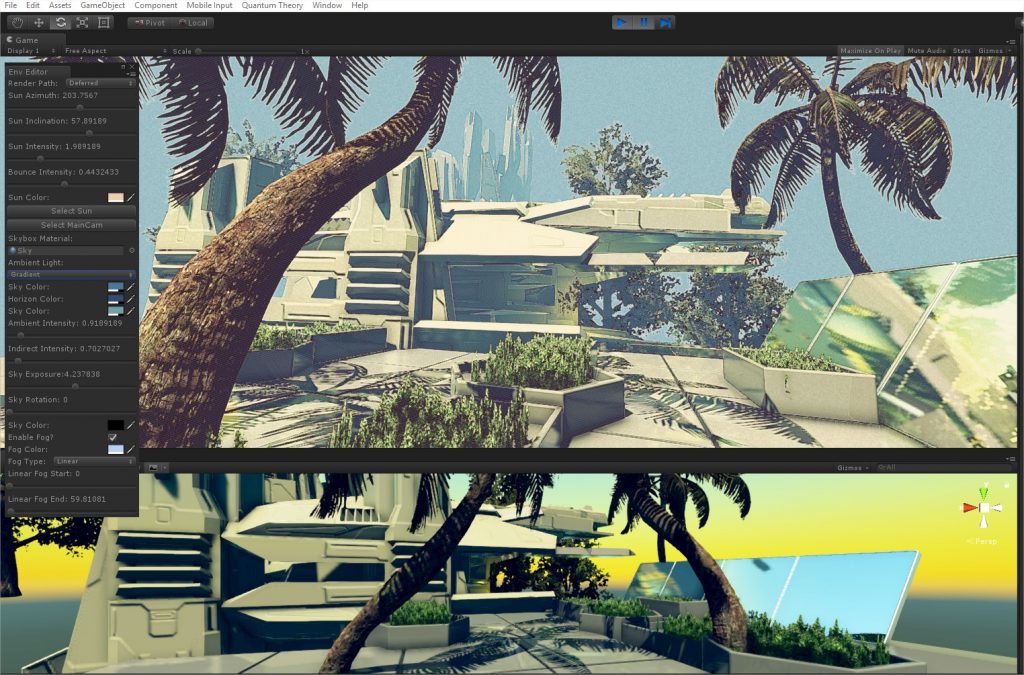
The above images were an experiment in post effects and compostion in Unity. While browsing some scifi concept art on Google Image, I stumbled upon the works of Syd Mead. He has a very unique, illustrative retrofuturist style that challenged me to translate into 3d. I cobbled together some basic objects, did some texture filtering in photoshop, and stacked some unlikely post effects together to achieve something I feel is in the ballpark. Here is the reference image. I didn’t aim to replicate the scene, just the palette and rendering style.
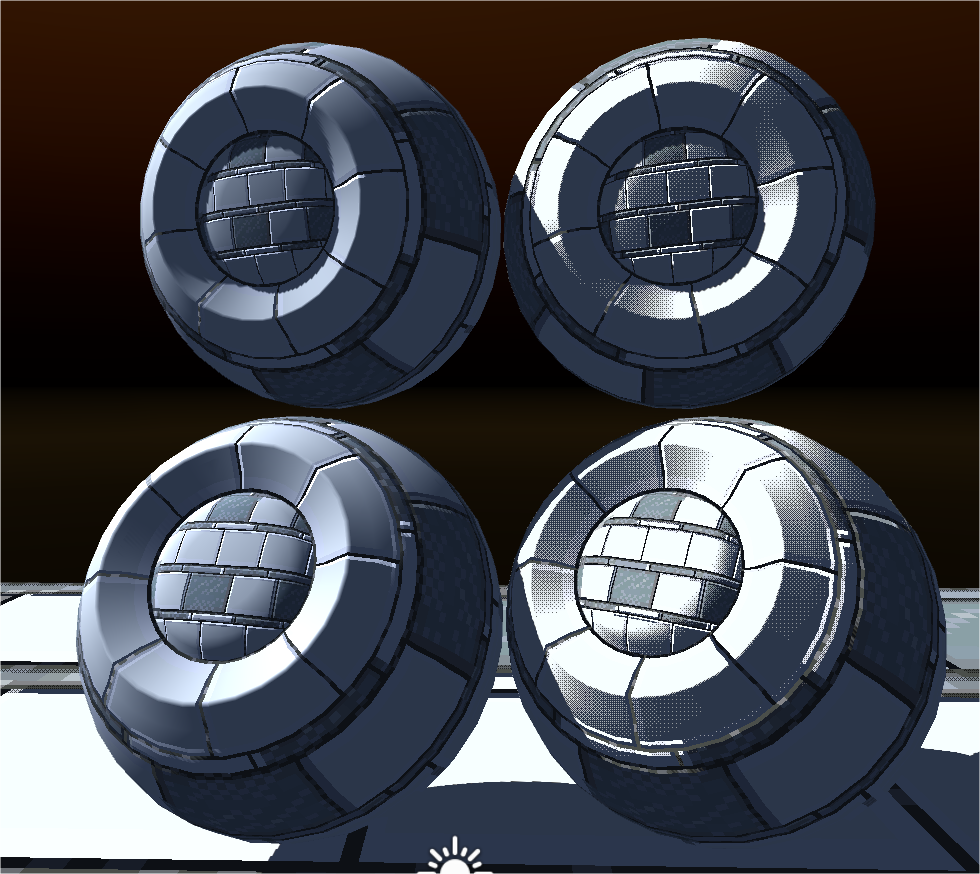
On the left: standard blinn-phong ball. On the right, standard blinn-phong ball with dithered light attenuation.
When I see a pixel-art game, my brain immediately says, “This is fun.” But they’re almost exclusively 2d games. The possibilities of making pixel-art in 3d are vast and enticing. Textures can be low res and point-filtered. Utilizing Substance Designer to author the textures can make for quick iteration and variation. Even using the SBSAR files in the build is a possibility because you don’t need them to be larger than, say, 128×128. Complicated graphs can compile and export quite fast when exporting at low res. But the main issue was dynamic shadows!
I wrestled for quite some time trying to figure out how to do a dithered light attenuation. I’m not super experienced at shaders, but I managed to knock it out in Amplify Shader Editor quite easily. The above image was the result of that experiment. I of course had to reconstruct a Blinn Phong shader under the custom lighting model type, but by just using the Dither node that comes with Amplify on the Light Attenuation node, I was able to get what I wanted and it worked out pretty well.
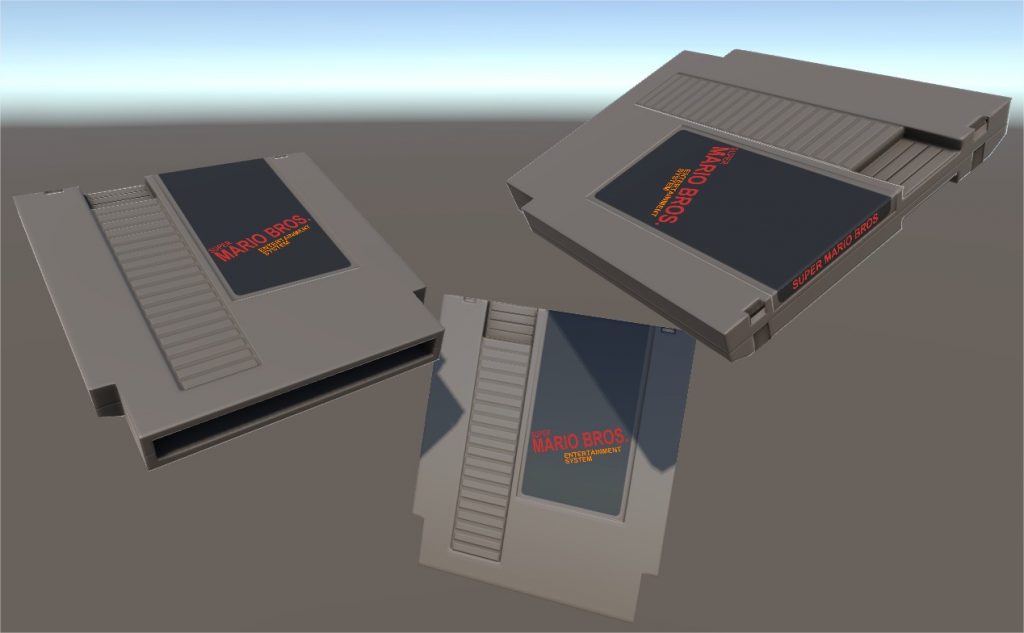
A normal map-projected NES cart! The special thing about this was that the text on the sticker is Unity’s Canvas UI element so you can type whatever you want and place it wherever you wanted.
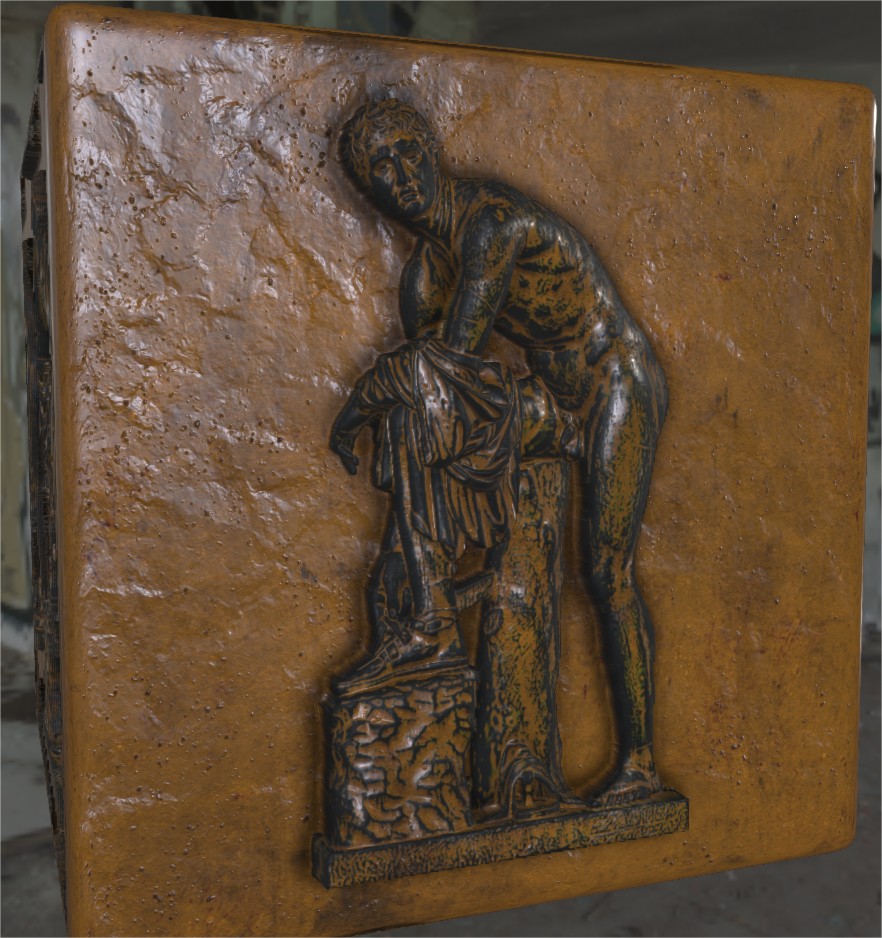
In my Rome: Fantasy Pack series, I wanted to see if taking real life 3d scans of statues and rendering them to textures would work out. Turns out it did. All I did was render a heightmap and normal map from ZBrush of the model I downloaded, then brought those into Substance Designer and did a quick texture test. Love how it came out.
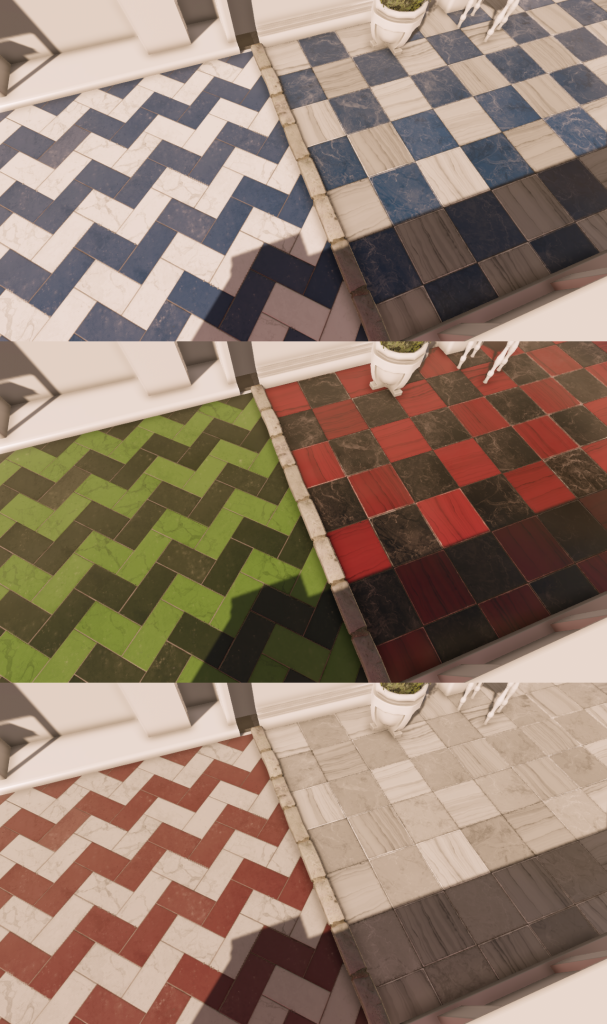
When making marble materials in Designer, I wanted to be able to control the marble colors in the game engine’s shader. Simply exposing the parameters through a SBSAR file wouldn’t be ideal because you’d be duplicating texture data and therefore eating up memory and disk space. So, if I colored the albedo with flat red, green, and blue colors like a Material ID map, I could then read that in the shader and reconstruct a new basecolor using 3 colors the user specifies in the material. Worked out great!

This is sort of a logical next step of the “3d statue scan” thing explained above. Here I turned all those statues into Substance Painter brushes (b&w mask, normal, height). I’d paint different statue brushes on some height-ordered layers to get the right normal map ordering. Then, export those maps to Substance Designer to run an AO and dirt pass. The left is the height map from Substance Painter. The right is the parallax material without a basecolor in Substance Designer.