Recently, I’ve completed a stint of contract work for a major motion picture client who had me doing photogrammetry work. They would supply the initial scan of the asset completed in reality Capture, then we would take it and do the clean up process. This entailed remodeling, removing the directional sun and ambient lighting from the textures, and creating the PBR texture set (metallic, roughness, normal, albedo, etc).
I’ve seen photo scanned assets before, but there was always a sense of “wateriness” about them when you see them in a game engine at eye level. The cost involved in getting those assets in the engine didn’t justify the quality, in my opinion. You’d need 8k textures in a fairly high poly model to get something passable. So I was skeptical.
As this was my first meaningful jump into the world of Photogrammetry, I was actually impressed by the realism that resulted from the gigabytes of RAW-format photos being processed in the photogrammetry software. The subtlety of light and color, the silhouette and curvature of the object was all present. It’s easy to get a poor result. But when it’s done right, it’s freaking amazing, positively rewarding, and profoundly immersive.
Hey, I Can Do That Better..
I always had a fascination with materials and textures and how they respond to light in game engines. After the contract ended, I wondered if I could do my own high quality material scanner. In previous attempts, I, like most, grabbed a DSLR and started shooting in shadow or on overcast days. I’d dump those images in to the software and get immediately disappointed with the quality. It turns out you can’t get a high resolution photo standing up and shooting down at the ground; Or, at least one that is passable by my standard.
So I said, “screw this,” and begun to design my own photogrammetry rig designed for grounds and walls. I started out with these requirements:
- It had to be mobile so I can take it around. I need to be able to take it out of the trunk and shoot at a moment’s notice when the sun is behind the clouds and when an interesting surface catches my eye.
- It has to be light.
- It had to be durable because it’s mobile. I can’t have this thing made of wobbly plastic, cloth, and duct tape. It has to be rigid when the wind blows.
- I need to be able to shoot RAW because I needed to delight the imagery. Can’t have shadows in my textures!
- I didn’t want to spend minutes releasing the shutter, taking a step, releasing the shutter, taking another step..
- It’s imperative the shutter release is easy; One button press should release the shutter for all cameras. If I have to hit the release on each camera, it’s impractical, slow, and exhausting.
Immediately, DSLRs were out of the question. First, they’re expensive. I’m not paying more than 200-300$ on each camera, so that’s a problem. But more importantly, they aren’t practical for this particular endeavor. My goal is to shoot only ground and wall materials, not objects like rocks and statues. I just need cameras that face downward. I can’t have a series of DSLRs with a 35mm prime lens centered around a central focal point and have the whole thing weigh a reasonable amount. Whatever material I use to bracket all the cameras has to be durable enough to hold them, so I’d have to increase the weight to support the increased weight of the DSLRs. No good.
After some failed experiments, I honed in on an excellent setup. Long story short, here are the results:
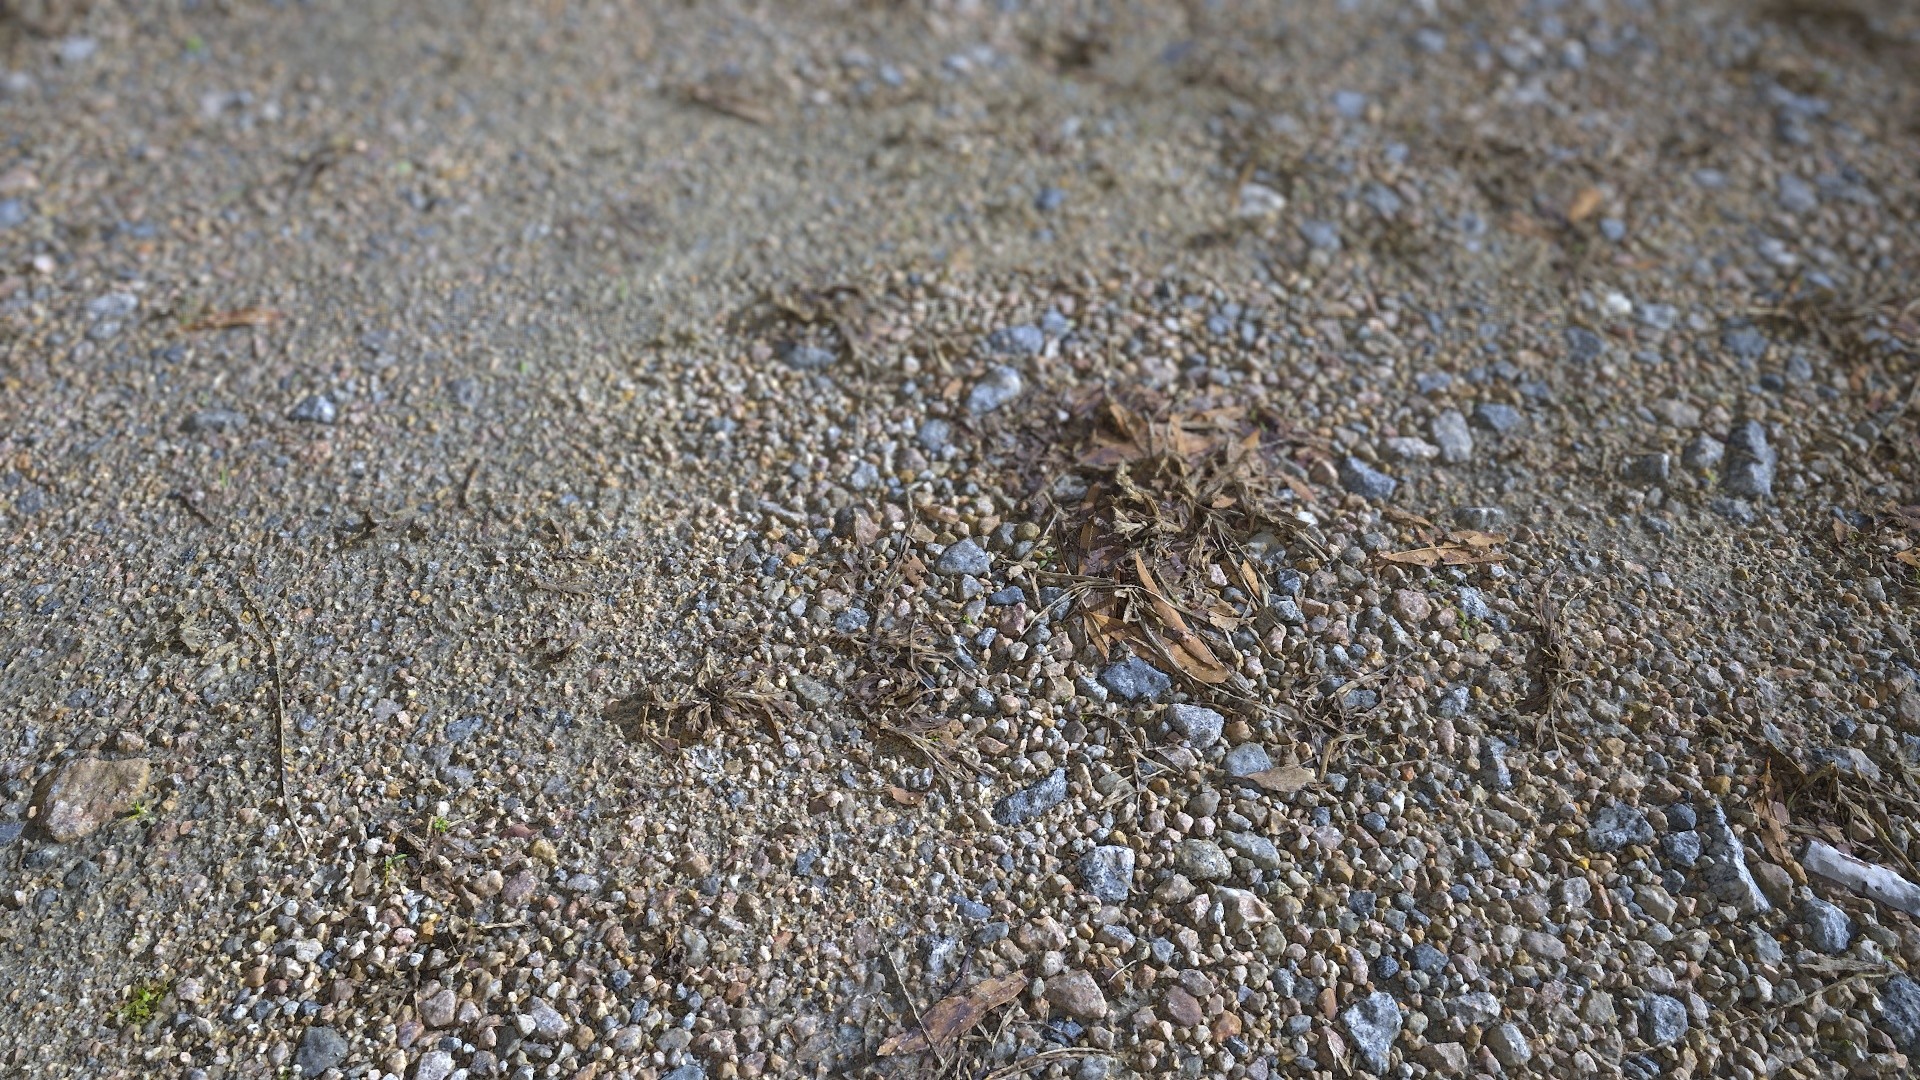
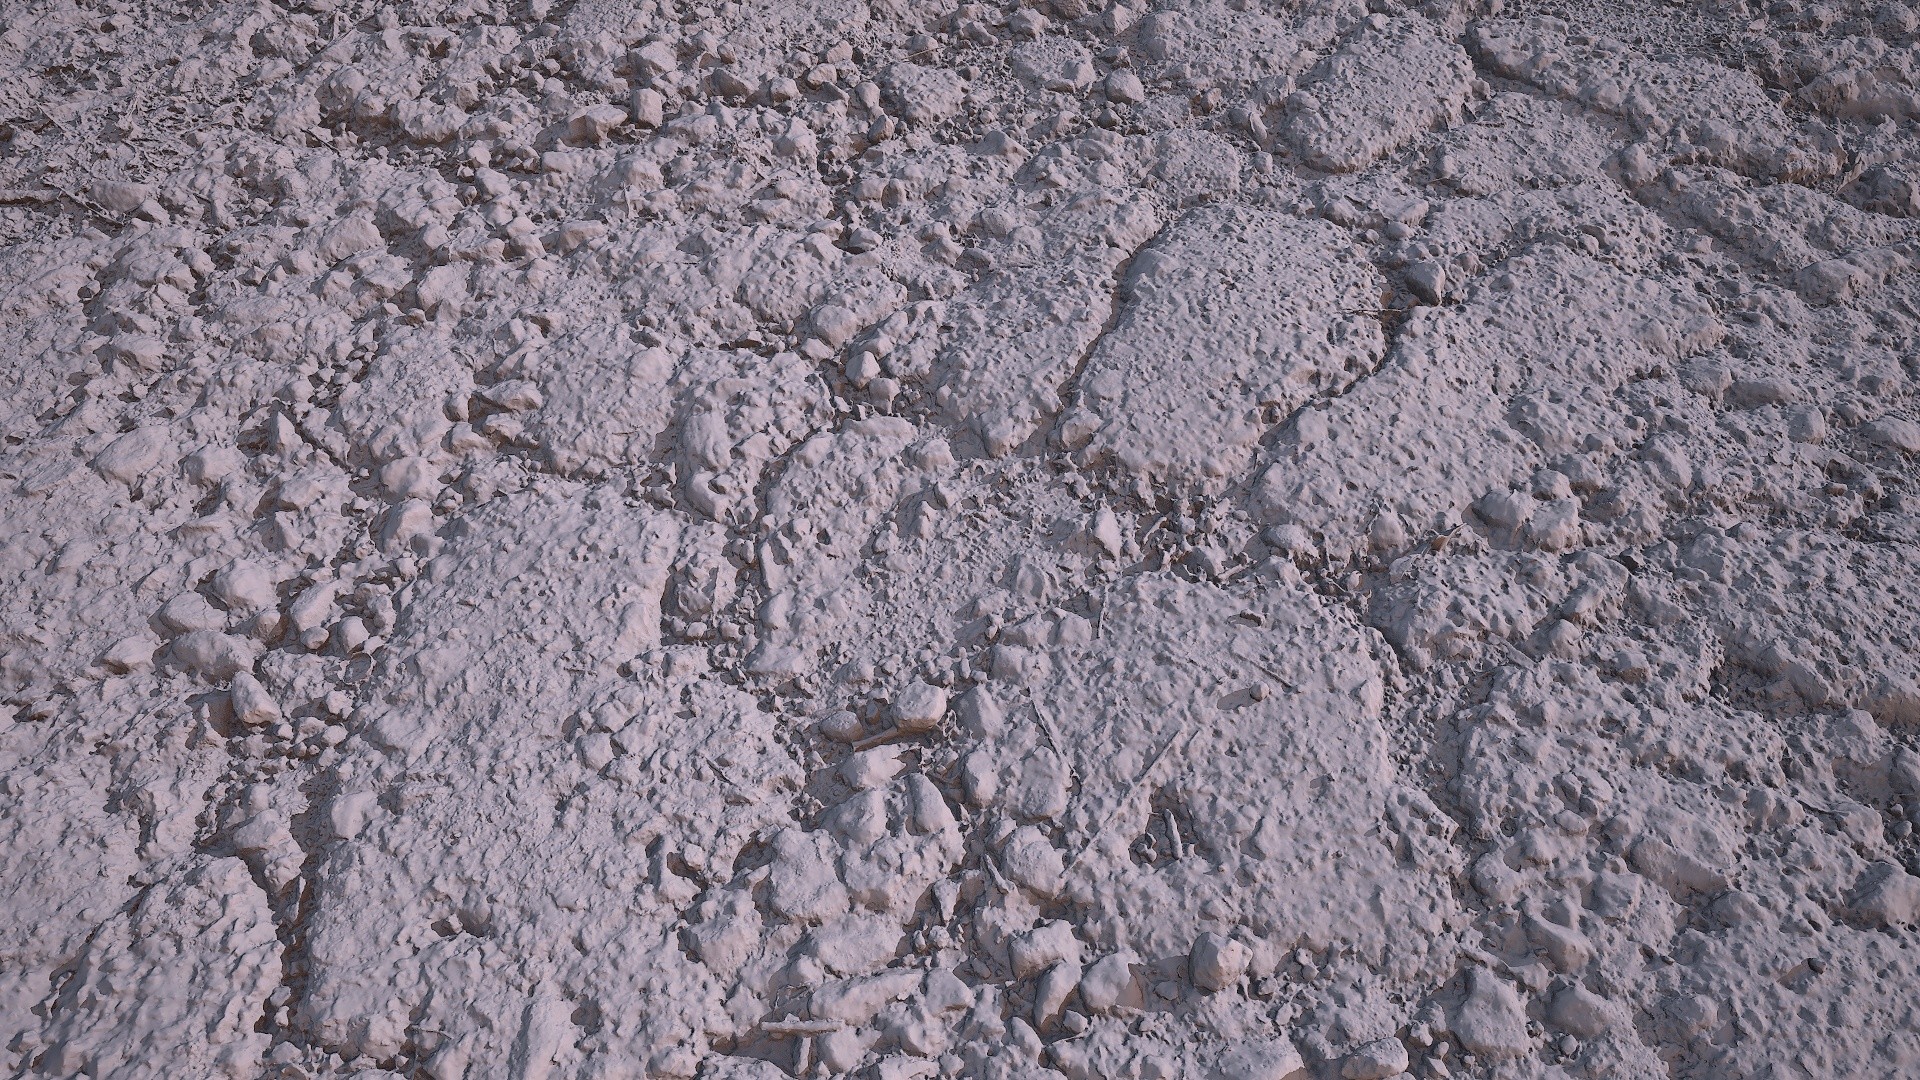
Gravely Sand and Dirt
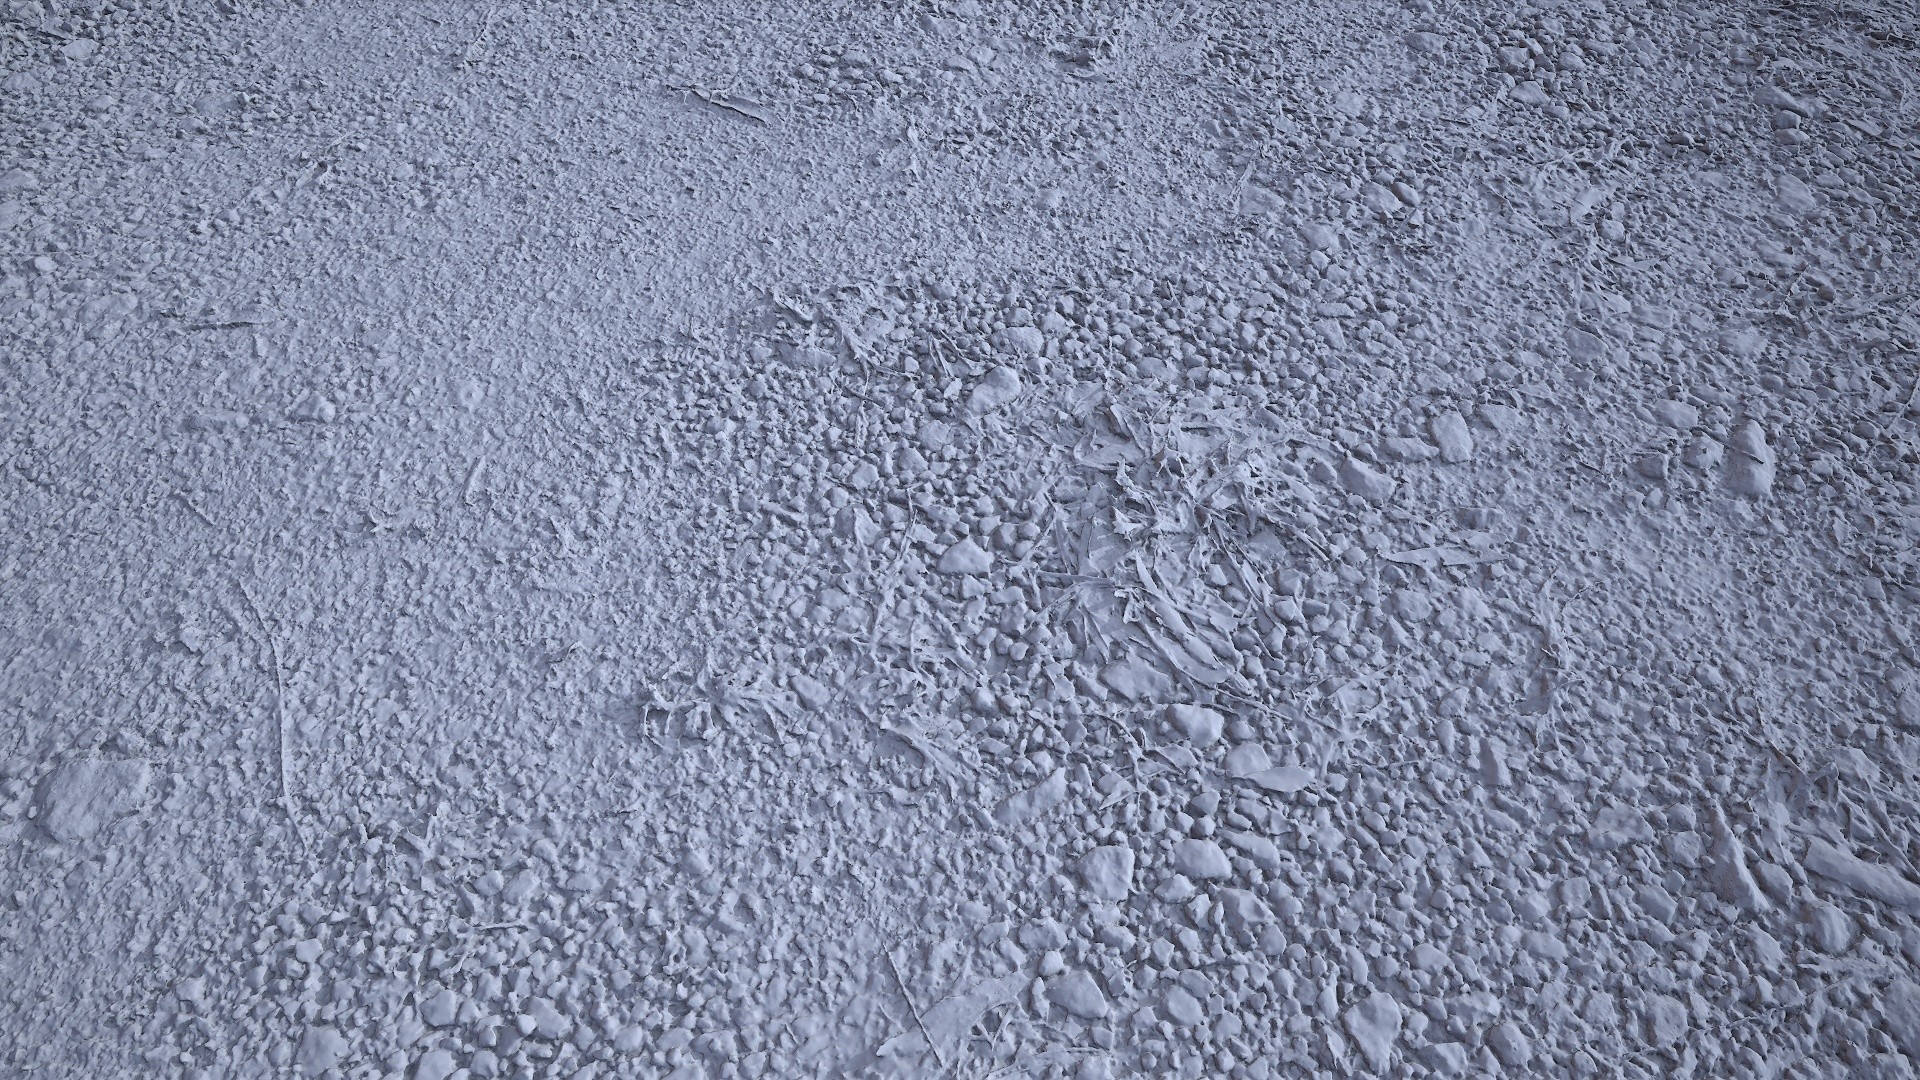
Gravely Sand and Dirt Height
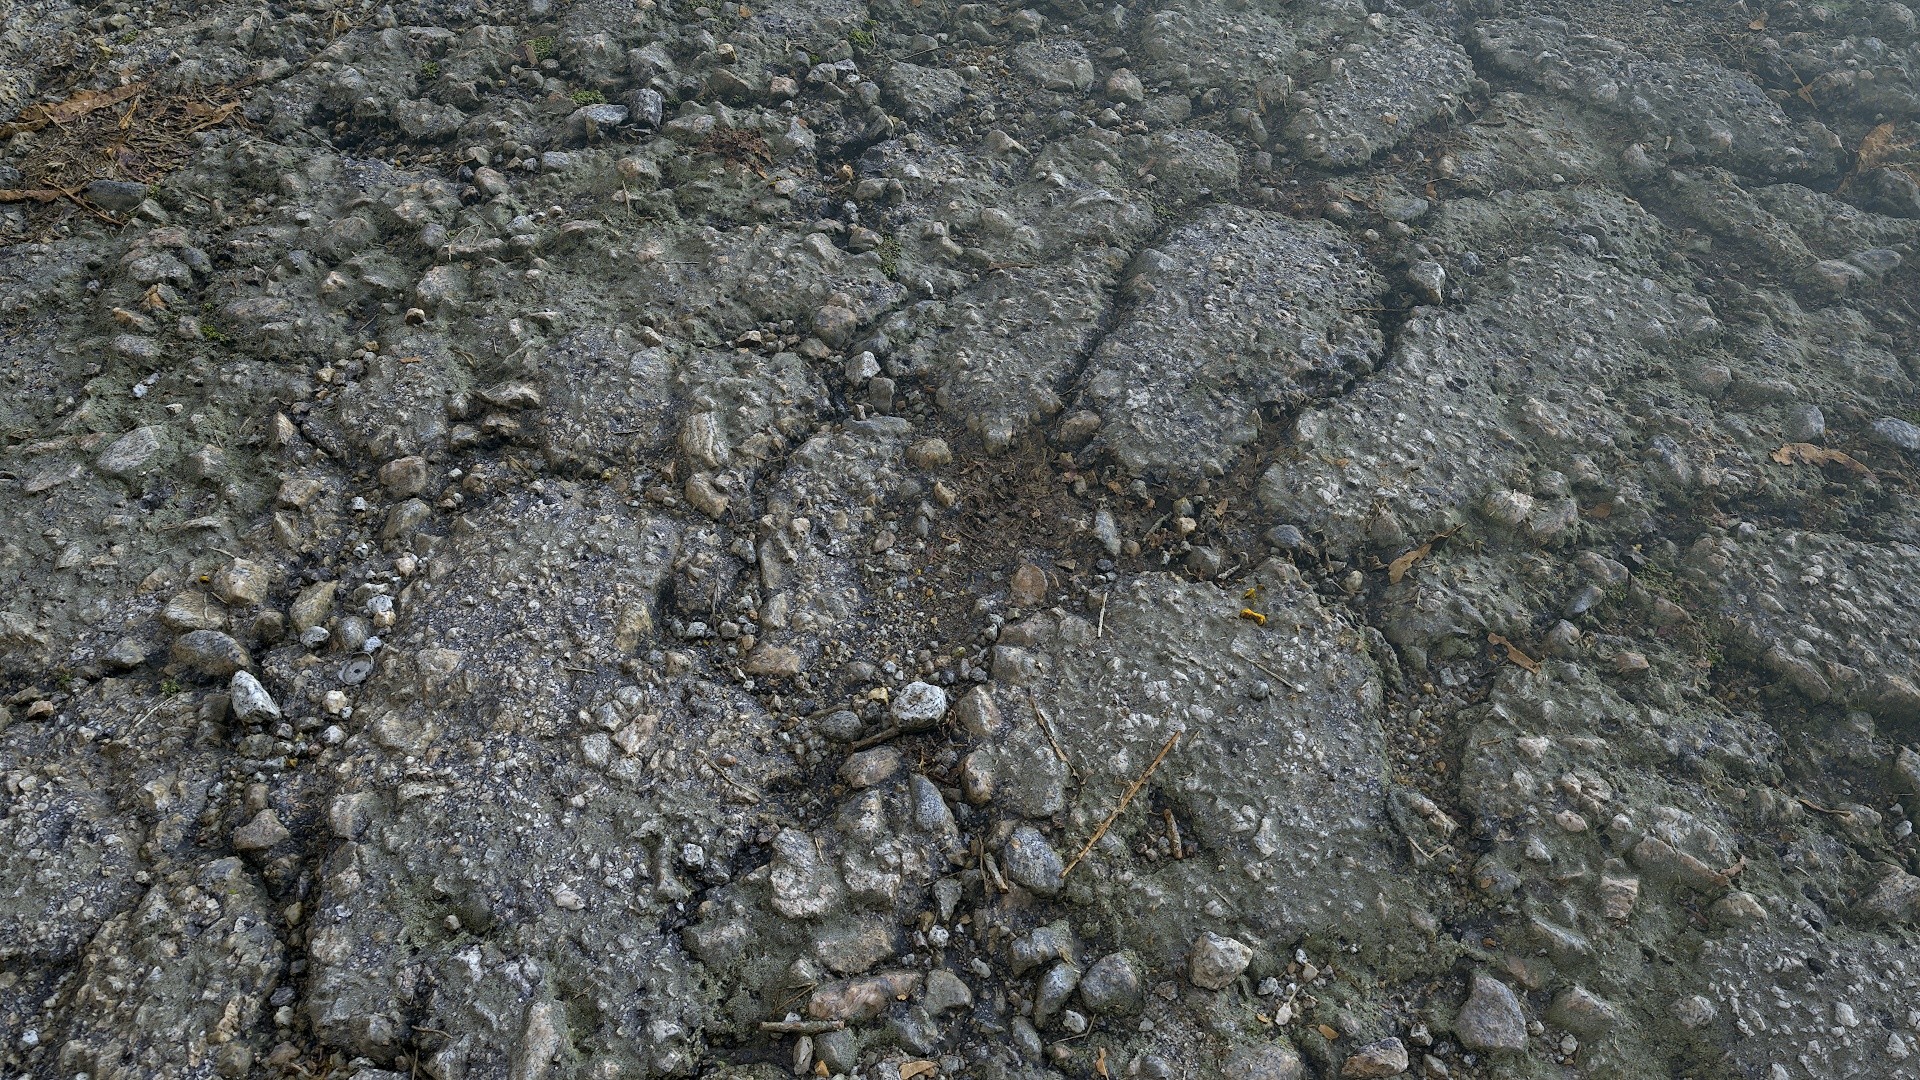
Broken Asphalt
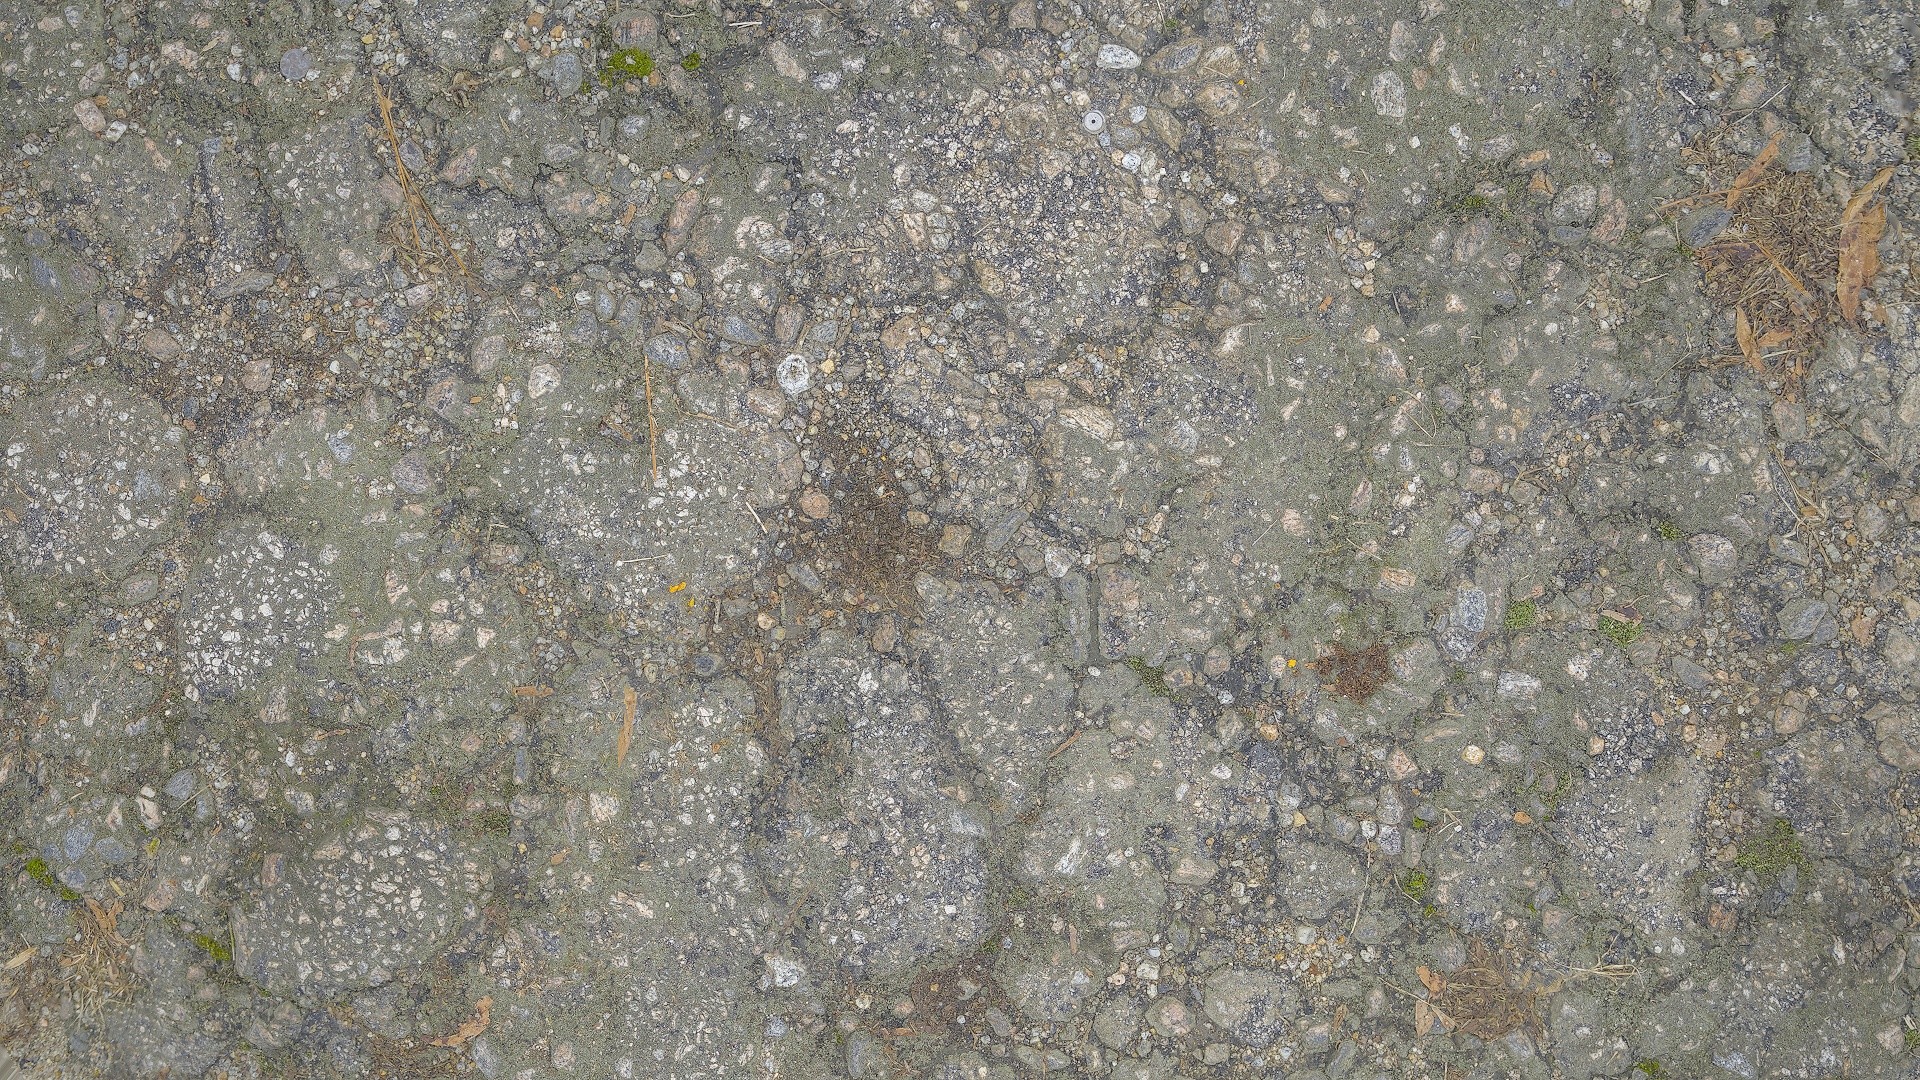
Broken Asphalt Albedo
Broken Asphalt Height
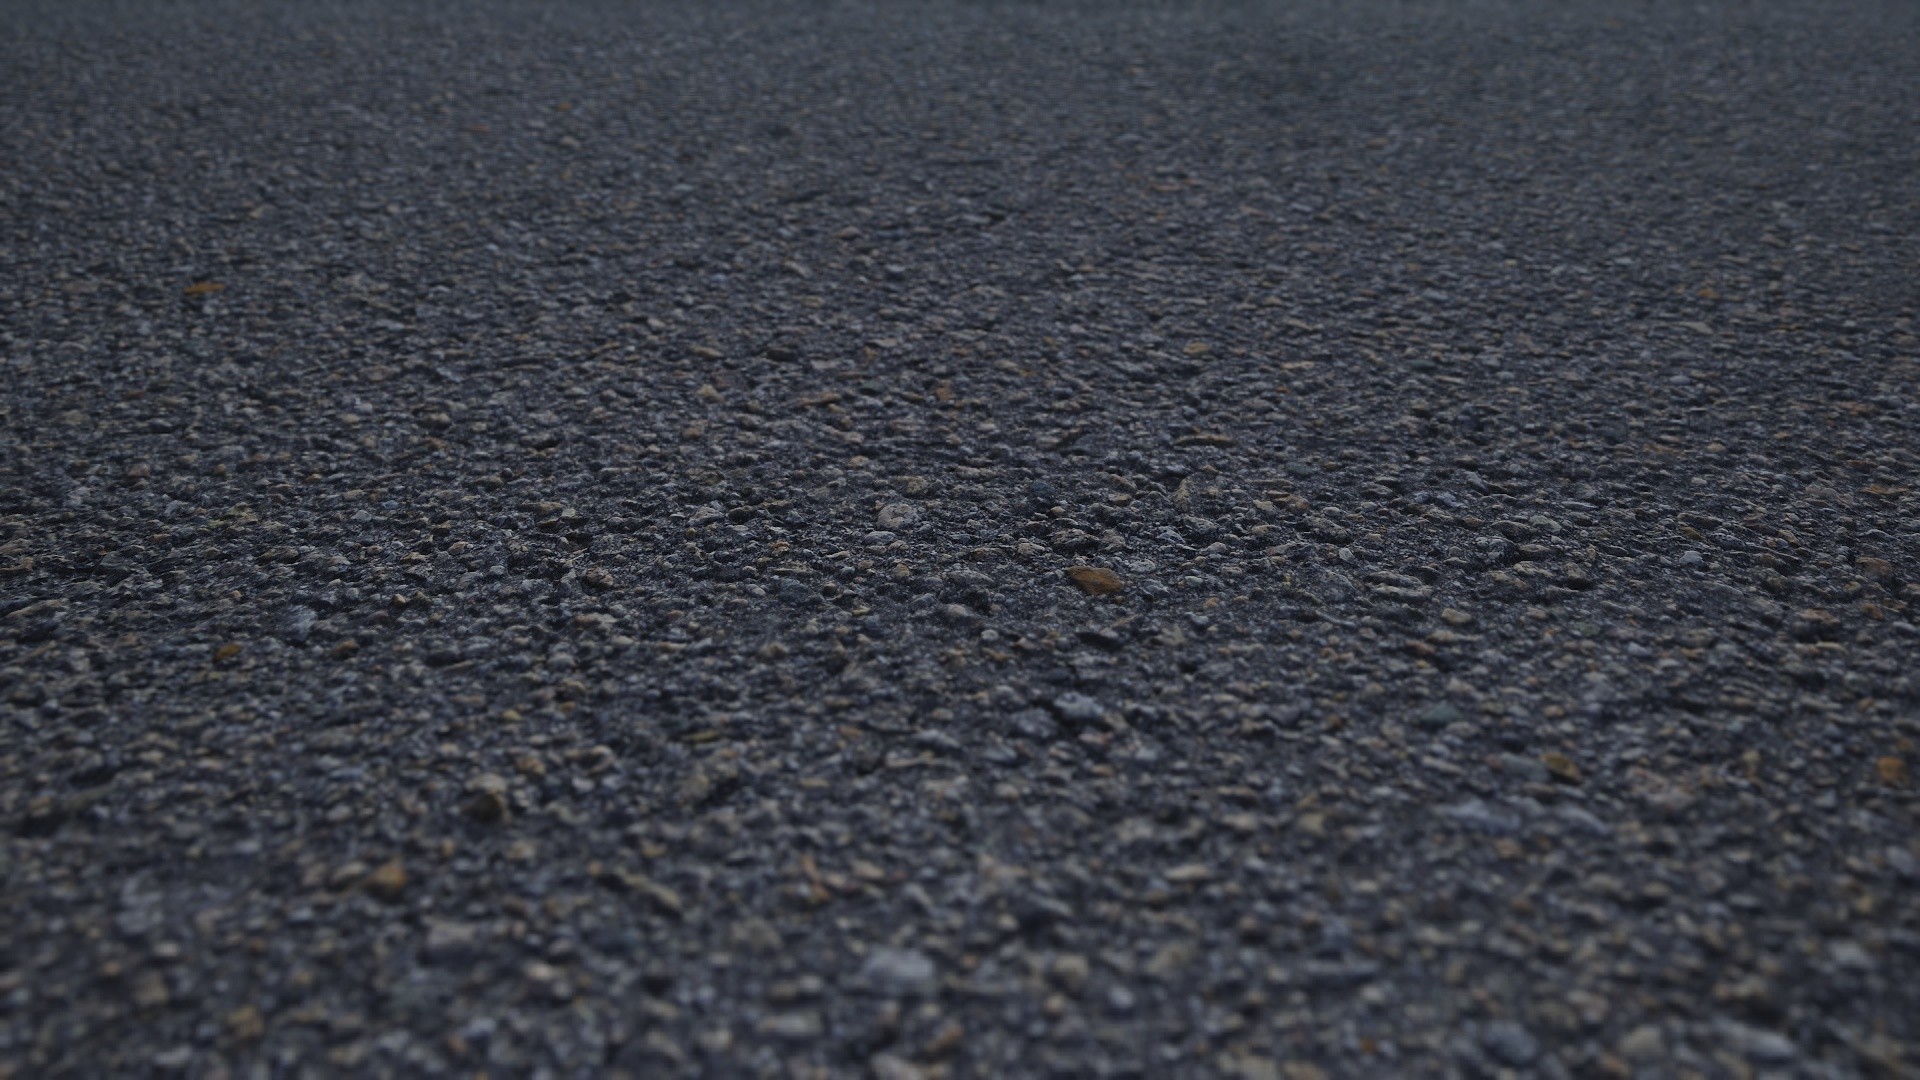
Closeup Basic Asphalt

My First Scan: The Driveway Seam
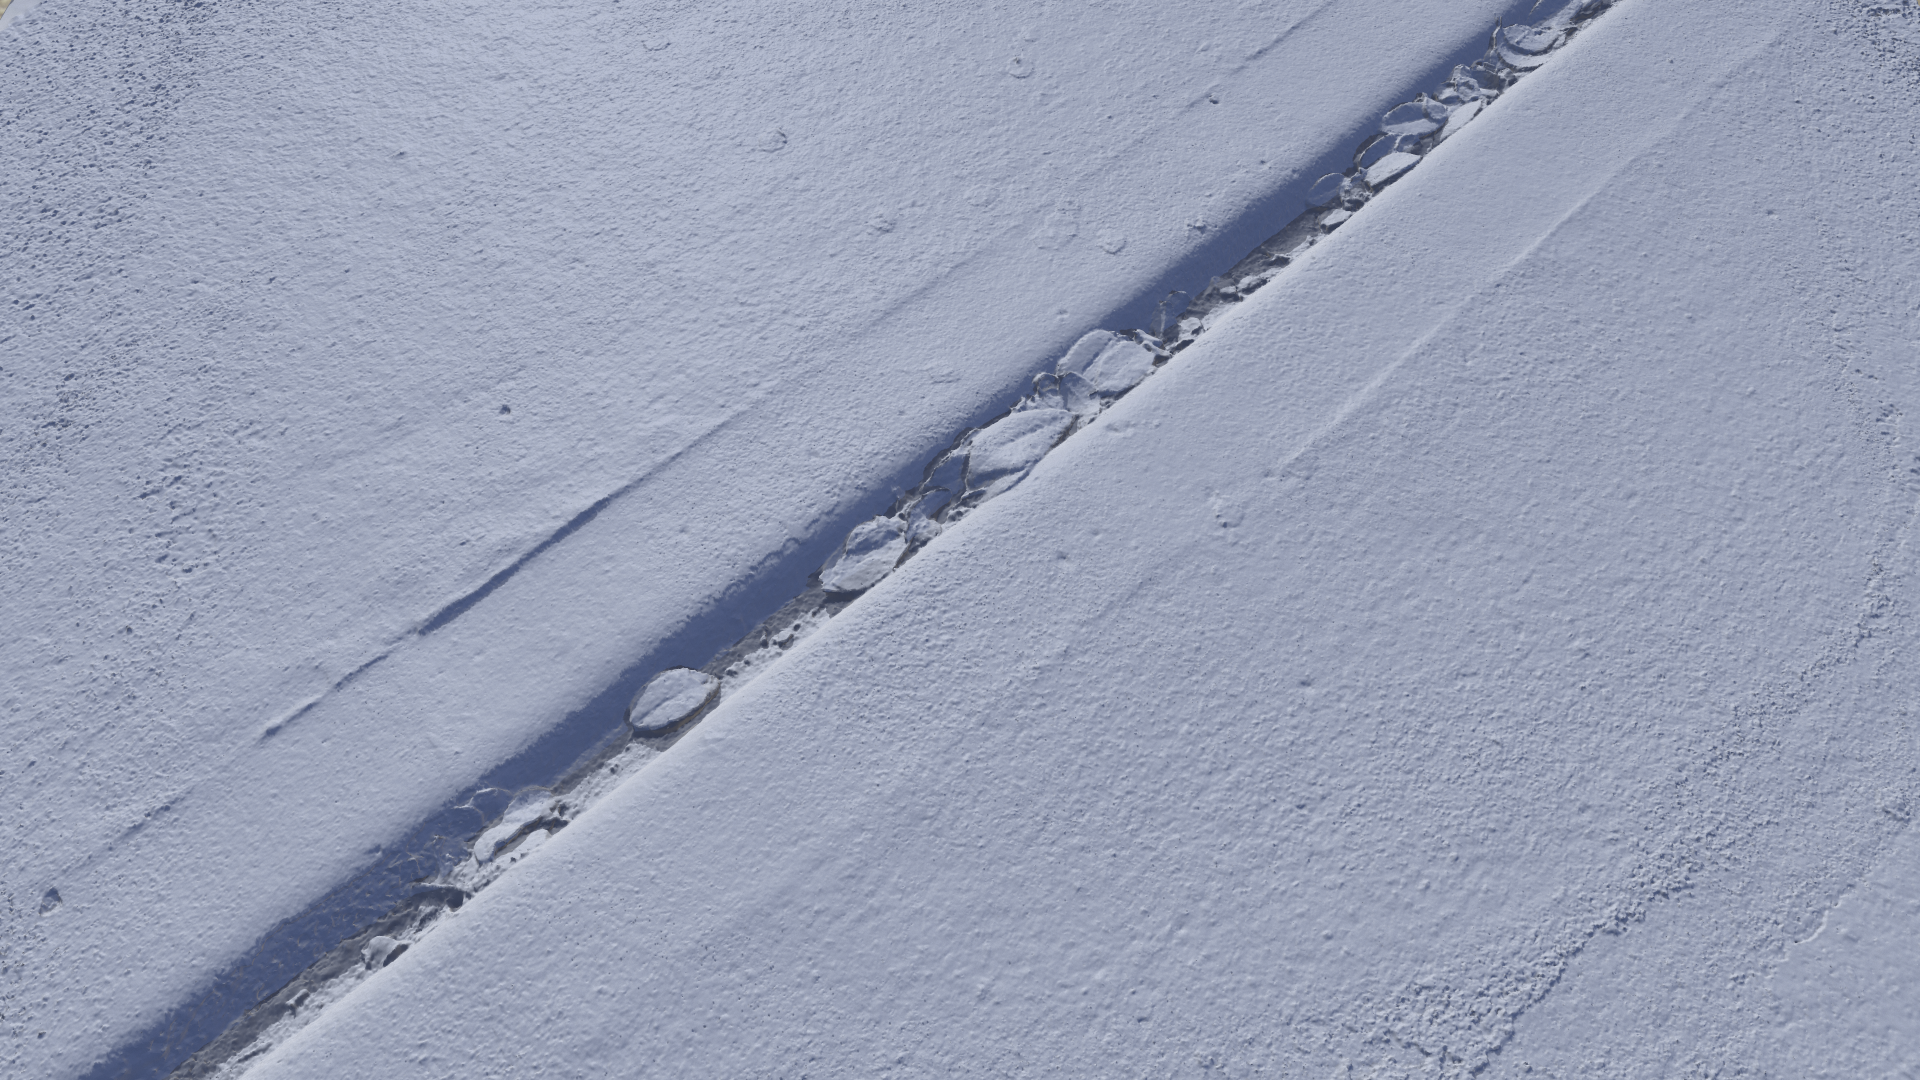
My First Scan: The Driveway Seam Height
All these shots are rendered in Marmoset Toolbag 3. The resulting detail is more than I’ve ever seen first hand. In the “Gravely Sand and Dirt” scan, notice how sharp the weeds are. They’re so thin, but entirely readable. The broken asphalt came out nicely, but check out the albedo; The process I used to delight this was easy peasy and it came out great. No silliness with high pass filters.
Then I thought, “Wow. How far can we go?” The Closeup Basic Asphalt is really a sight to behold too. The tiny, subtle bumps in the road are evident. Even in the driveway scan you can see the imperfections and layering of concrete.
I rendered some video turntables too!
I really didn’t think they’d come out this good. Even more shocking is each surface only took 3 to 5 minutes to shoot. I am now habitually jumping out of the car, grabbing the unit, shooting, and I’ll be driving away again in less than a few minutes satisfied that I captured sufficient surface area for a material.
It’s a new year and hopefully in 2019 I can focus on creating beautiful scans to share, showcase (and sell!) here and on my other storefronts. More to come!